Campaign cartographer
The website drawshield.net provides tools to, err, Draw Shields, and coats of arms. Campaign Cartographer 3 is used to create fantasy maps. Hmmm, wonder if there is any mileage in getting them to work together...
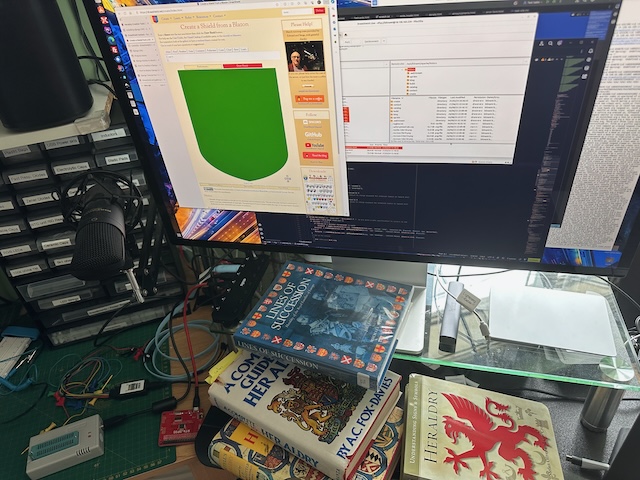
Now the easiest way to create shields on DrawShield is to use the "Build from Parts" page. This lets you build up a shield by choosing from (very many) options just by clicking on them. Let's take a look a few of the steps...


When you have created your arms we get to chose some final overall styles and effects. In heraldry there are no closely defined "standard" colours - for example the heraldic colour "gules" just means "red". There are a few widely accepted sets of precise heraldic colours, for example those used on Wikipedia and DrawShield lets you chose which set of colours that you want to use by choosing a particular "palette". This is the first integration I've made to help work with Campaign Cartographer 3 - the "CC3 Palette" uses colours taken from the default Campaign Cartographer 3 "overland" map. So choosing this palette will ensure that your shield is visually similar to the colours used in the default map and will not stand out or "jar" with other map elements.

By default, DrawShield creates images with very sharp, clean lines - however you can apply various "effects" on top of this to alter the overall appearance. A second CC3 integration is the "Inked" effect - this roughens, thickens and darkens the lines, giving them a much more natural and hand-drawn appearance, again making them more like the default symbol set of Campaign Cartographer 3. Let's see how we can select these styles from the DrawShield "Build from Parts page":

Now we can finally save our file, use PNG format to keep the transparency and set the size to around 1,000 pixels across. Save the file with an appropriate name into a folder of your choice.

We can now import the PNG file into Campaign Cartographer 3 using the normal "Import PNG" option from the Symbols menu:


And finally we can incorporate our coat of arms into our map, using the usual modifiers to scale or rotate it as required. Here's an example, which I hope that you will agree blends in fairly well with the supplied assets:

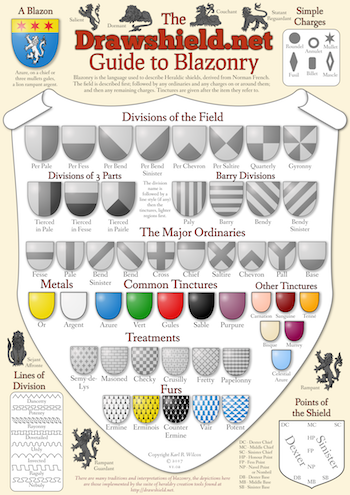
DrawShield has many other features, to get the most out of it you really need to learn the language of blazonry and enter this into the "Create from a Blazon" page. Learning the language will open up the ability to give very precise control over the things on the shield, including "quartering" many arms on to the same shield, and adding supporters and other items around your shield. This page also has an options panel which includes all the of the effects and palettes mentioned above and many others, it also offers the choice to create differently shaped shields, including flags and even postage stamps! Another useful option on this page is to use the "hatching" palette in conjuction with the "Inked" effect to create images suitable for "monochrome" map styles in Campaign Cartographer.

And if you are stuck for inspiration there is a gallery of over 11,000 images submitted by DrawShield users, and a page that will simply generate a random image for you!